
Pipe relining explained
Pipe relining (sometimes called trenchless or no-dig pipe repair) is a relatively new solution to damaged sewer and stormwater pipes. Previously, the only way to repair cracked, sagging or damaged plumbing pipes was to excavate the pipes and replace either a small section or the entire line.
While excavating and replacing pipes provides an excellent long term solution to damaged sewer and stormwater pipes, it can also be quite disruptive to your property - particularly if the offending pipes are located underneath a driveway or landscaped area of your garden. Dig-ups are also labour intensive and costly.
Pipe relining provides a cheaper, quicker and less disruptive solution to pipe excavation. As suggested by the name, the pipe relining process relines the inside of pipes, restoring functionality without the need to dig the pipes up and replace them.
A specially designed tube is inserted directly into the pipes. When the tube is in place, the plumber will inflate the tubing until it fits tightly against the interior lining of the pipes. The outside of the tube is coated with a resin, which ensures it adheres to the existing pipework. Once it sets, the pipe relining provides a seamless seal that is extremely durable and long lasting.
What does the pipe relining process involve?
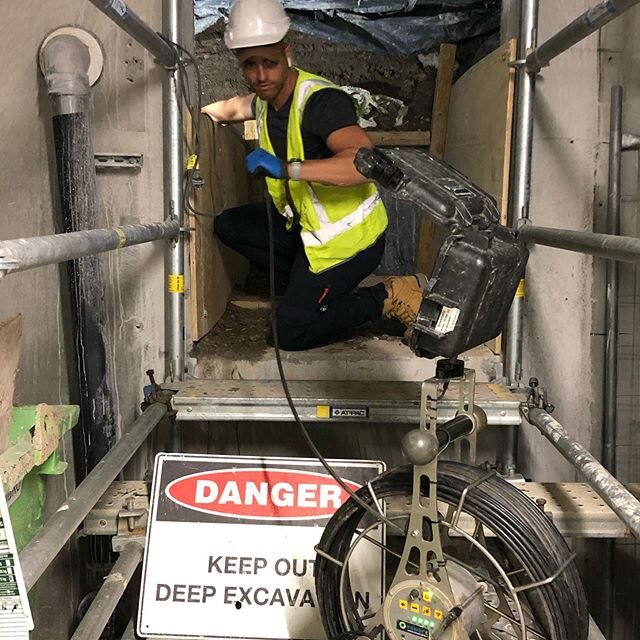
1. Pipes are inspected using a plumbing camera
When the plumber arrives at your property, the first thing they will do is perform a CCTV pipe inspection using a plumbing camera. This inspection provides the plumber with a comprehensive understanding of the condition of the pipes so they can assess if trenchless repairs are suitable.
Relining is not an appropriate solution for pipes with large holes or pipes that have completely collapsed. This is because the relining material will have no surface to adhere to. Small holes can be patched, but if the pipes are severely damaged they may have to be excavated and replaced.
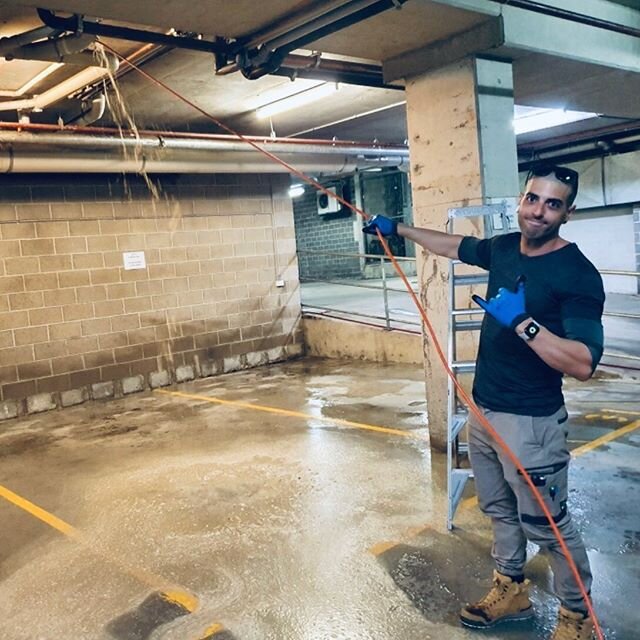
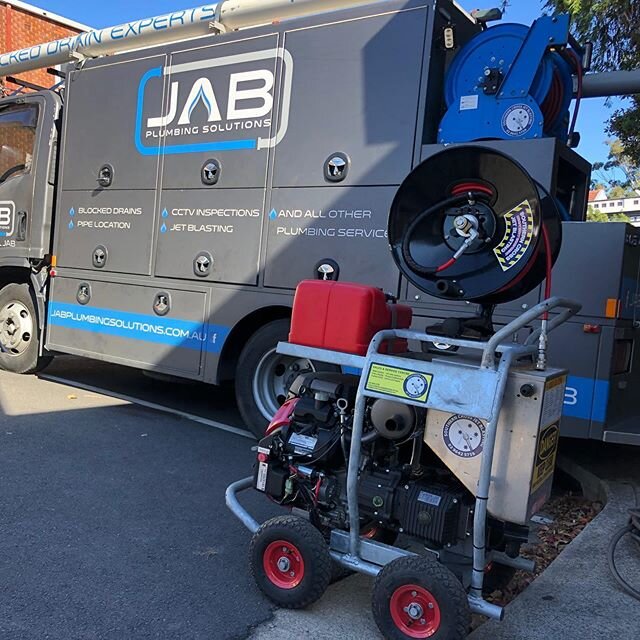
2. Pipes are cleaned and prepared for relining
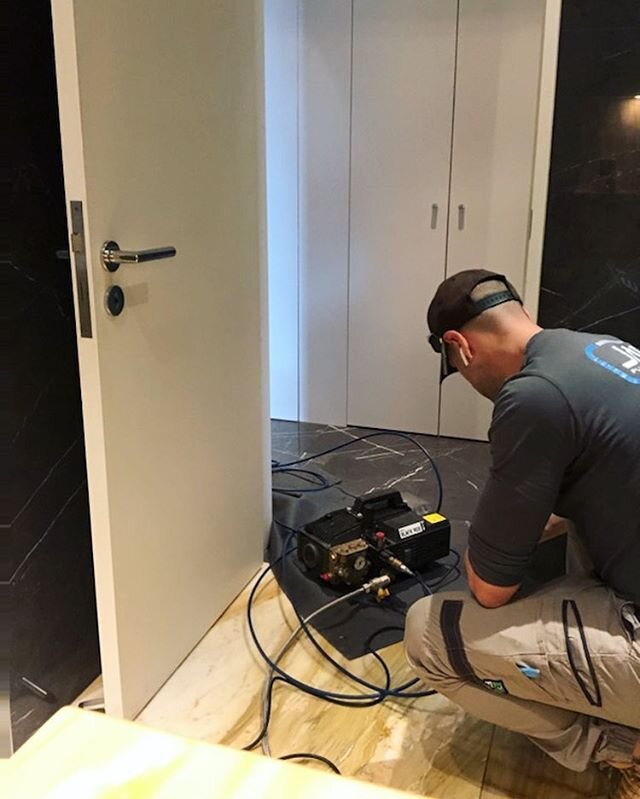
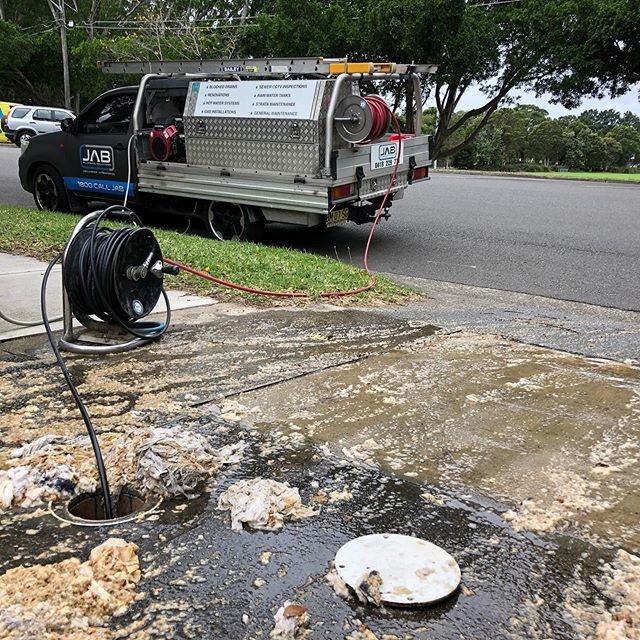
Once the inspection is complete, the plumber will clean the line in preparation for relining. A jet blaster is used to pressure clean the pipes, removing grease and oil residue as well as any remaining sediment from the line. Clean pipes are necessary to ensure a secure bond between the new lining and the old pipes. If the pipes are not cleaned properly it can also cause an uneven lining in the newly formed pipe.
The plumbing camera will be sent down a second time to make sure that the pipes are completely clear. This second inspection is also used to determine exactly how the pipe will be relined and how much lining is required.
3. The new lining is prepared
After the pipes are thoroughly cleaned, the new lining is measured and prepared in a purpose-built truck. The lining (also called a calibration tube) is normally constructed from polyester or fibreglass. An epoxy resin is then mixed with a hardening agent that is poured into the lining and distributed evenly along the entire length. This process is called the wetting-out.
4. Relining commences
Next, the liner is loaded into the inversion tank and the lining process commences. The inversion tank uses compressed air to insert the liner into the pipe, inverting it in the process so that the resin-lined side is now pressed against the original pipe.
5. The curing process
After the lining is inserted, the resin needs time to cure and harden, forming a new protective coating inside the pipes. The resin can either be left to cure by itself or the process can be accelerated using hot water or steam. Ultraviolet light is then used in the tube to complete the curing process. When the resin has completely hardened to form the new pipe, a robotic cutter is sent down the line to open up all the junctions that were closed up when the epoxy was forced in.
RELATED ARTICLES